
 Hello – and welcome to the set up page for your new
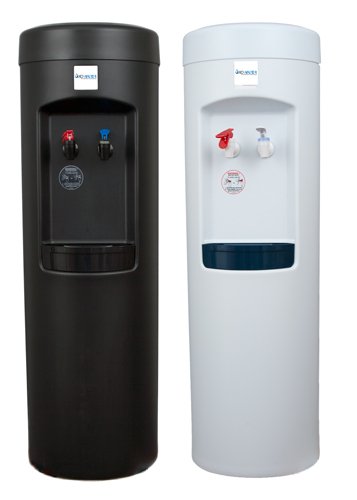
BottleLess Direct Water Cooler.
 Hello – and welcome to the set up page for your new
There are 2 main scenarios for getting getting your new BottleLess cooler installed:
- You are replacing an existing BottleLess water cooler (in which case you can just use the existing waterway and swap out the coolers)
- You have a bottled water cooler or you have no water service (in which case you will be running waterway to the new cooler and setting it up).
Below, you will find videos to help you every step along the way. You’ll also find a set up manual inside your new BottleLess Water Cooler.
How To Remove An Existing BottleLess Water Cooler (If You Have One)
Please watch this video if you have an existing BottleLess Water Cooler in your facility and are going to replace it with your new cooler.
Tools you’ll need: A bucket or trash can to drain the water from your existing water cooler
Setting Up Your New BottleLess Direct Water Cooler
In this step, the waterway is already run from the water source to the location of your new water cooler. If you haven’t run the waterway yet, please see the videos lower on the page – and then come back to this one. This information is also provided in written form in a Set Up manual that comes with your BottleLess Water Cooler.
Tools you’ll need: Bucket, sharp scissors or razor blade
Please note: The way that the waterways attach to the fittings is nothing short of incredible. You just need to push on the collet (see the video) and pull on the waterway at the same time. Then, the waterway will easily come out. You do not want to just pull on the waterway (or the cap) to remove it (without pushing in the collet at the same time). If you do, you could damage the o-ring and your cooler could leak.
IMPORTANT: Do not plug the new BottleLess water cooler into the electrical outlet until water is coming out of the hot faucet. You can burn out the heating element if you turn on the heating element with out water in the hot tank. As you will see from the video – the LAST step to setting up your new cooler is plugging it into the electrical outlet (and turning on the hot switch on the back).
Click here to download the installation manual that comes with your BottleLess Water Cooler.
If you’re not familiar with how to work with push-in fittings, you can click here to download a .pdf explanation
Tying Into Your Existing Water Source:
Here is a video showing you how to use a saddle valve to tie into the water source that’s already in your building.
Getting The Waterway From The Water Source To Your Cooler
Here is a video that will show you how to “snake” the waterway inside of the walls right to the back of your new BottleLess water cooler.